

Hand Picked By Jamie ~ December Bundle - All Occasions Card By Ian Rump-Smith
- Ian Rump-Smith
- Dec 28, 2022
- 3 min read
Happy Wednesday Crafters....
I hope you're all having a wonderful Christmas and not eaten too much! :-)
So for my last card of the year, I thought I would bring you a card suitable for any occasion....

Remember, you can find the Shopping List for all the products used in my project at the end of my Blog.
Let's' get started.... and before you ask if I was a little tipsy making this, I wasn't lol.
I thought we'd try something different, so the front is actually created using acetate!
Today we are using a 6x6 White Card Blank (but you can go larger if you would like space for sentiments and extra detail).
Choose a paper from your Chalkboard Essentials Insert Paper Pad, and cut out your squares using Sue Wilson's Noble Stitched Square Die Set. Glue your die cut onto the front of the card base, leaving a narrow white border around the edge.
Next, take your Creative Expressions Configurations Elegant Laced Edger Die set, and cut four corner elements in Gold Mirror Card. Glue these corners onto the insert paper using Cosmic Shimmer Dries Clear Glue.
The next part is slightly more fiddly, as acetate can be slippery when cutting.....
Take a sheet of acetate and lay it onto the card base, level with the top and edge of the card (measure the left side about an inch bigger). Also mark where to cut across the bottom.
TOP TIP - Use a glass, pen or peel off marker on the acetate.
Use a Bone Folder to make a crease on the left hand side of the acetate (an inch in).
Depending on the thickness of your acetate, it can take several creases.
Next put a couple of strips of Ultra Sticky Double Sided Tape on the inside of the acetate front,
and pull off the backing strip. Now carefully, with the card front down, butt the card up to the edge of the acetate and then push down the panel onto the back of the card. The front is now ready for the topper.
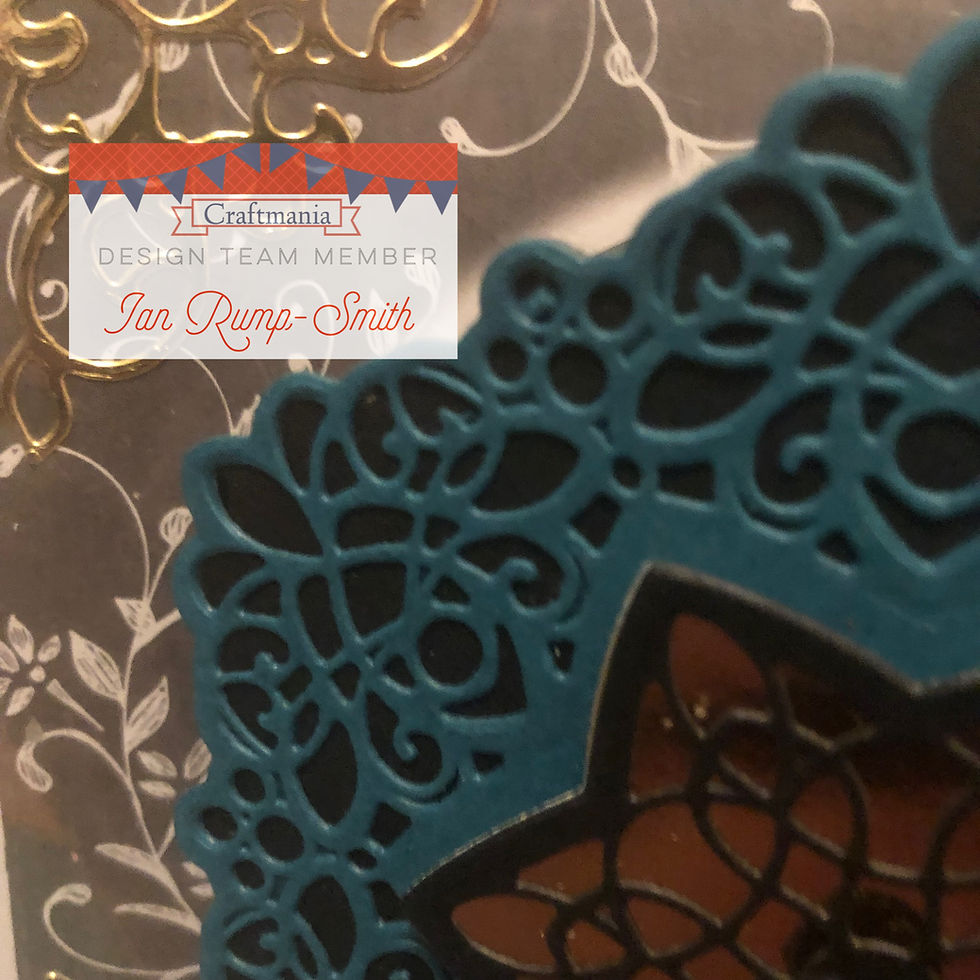
For the next step, we will be using Creative Expressions Frames & Tags Lexi Die Set.
Cut your base die out in black card, and then again in Foundations Teal Card.
Taking another piece of teal card, and run it through your machine again, but this time with the intricate die from the set. Like earlier, use your low tack tape to hold your dies in place.
Now glue these two pieces together.
TOP TIP - Use Woodware's Ultra Fine Tip Glue Applicator Bottle to apply your glue, or alternatively you could use Creative Expressions Sticky Specks which are perfect for intricate die cuts like these.
Moving on to our centre star....
Take the centre star die and cut two pieces; one in black card and one in Gold Mirror Card.
Use the same method as before to cut the patterned star on the black die cut. Use foam pads to stick this onto the page die cut. Stick this onto the centre of the acetate, using wet glue. Add a gem if desired to the star.
Now the last thing we need to do (and this is personal preference) is to add a sentiment to the front acetate. I have stamped a message on the front of the card from my Sentimentally Yours Bohemian Sentiments Stamp Set included in October's Bundle.
TOP TIP - If you are stamping on acetate, the best ink pad to use would be StazOn. Craftmania's FREE Ink Guide is a fantastic guide, advising you the best inks to use when stamping on different surfaces.

That's it, your card is complete!!
Remember, there are so many different options to mix up your design and colours to suit the gender or occasion of the person you're creating it for!
Remember to add your own makes on our Facebook Group - Create With Craftmania And Jamie Rodgers.
I hope you will try making my card, and I look forward to seeing you again next week... in 2023.
HAPPY NEW YEAR everyone and thank you for your continued love and support throughout the year. Have a fantastic time!
Ian x
INKS & FREE HELP SHEETS
CARD
GLUES & ADHESIVES
TOOLS


Comments