

Happy Little Christmas - Canvas Collection By Jamie Rodgers
- Jamie Rodgers

- Apr 21, 2023
- 3 min read

Today I have a really simple card to hopefully inspire you...

▪️First of all, stamp out this beautiful Holly Stamp 4 times onto a piece of Foundations Coconut White Card. I stamped mine using Tea Dye Distress Oxide Ink I also heat embossed it with Cosmic Shimmer Detail Gold Embossing Powder ✅ TIP - Don't forget to use your Magic Anti-Static Pad!
▪️ Once you have stamped these out we can start to die cut the canvases!
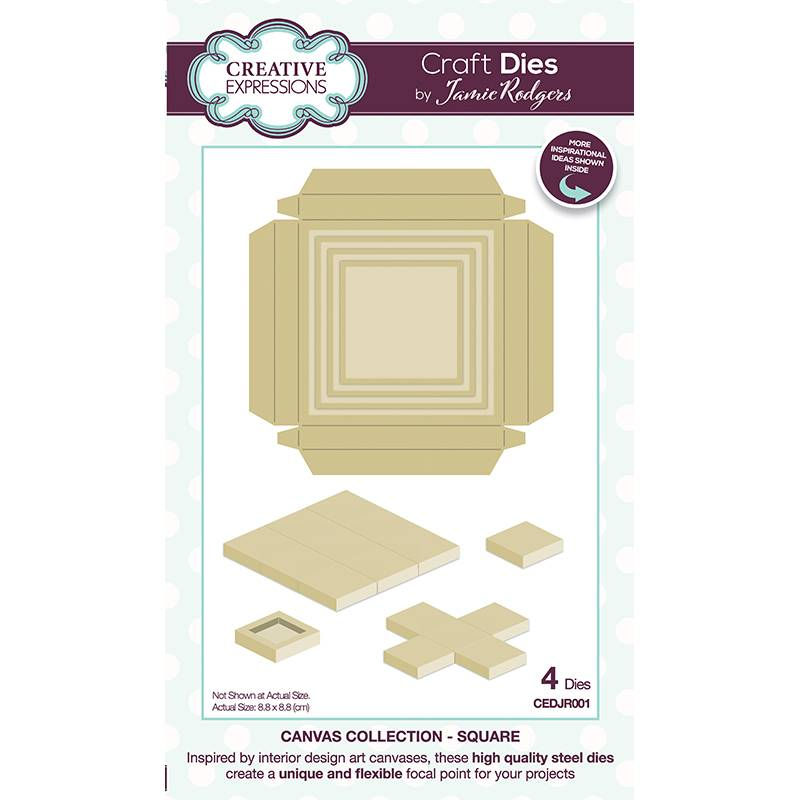
I picked slightly different areas from each stamped image and cut the canvases with the Original Square Canvas Die
▪️Now paint in your details.. for mine I have chosen to paint with Distress Oxide Inks,
I have tapped a small amount of Festive Berries & Evergreen Bough onto a Blending Mat and added in a little water with a waterbrush to create a two paints.
▪️Once dry, burnish the score lines and build the canvases. ✅ TIP - I tend to use mini pegs to hold my canvas as I glue it with Cosmic Shimmer Dries Clear Glue.

▪️Next up, let's stamp the sentiment from this set - I have once again stamped with Tea Dye Oxide Ink and heat embossed with Detail Gold Embossing Powder.
✅ TIP - Don't forget to use your Magic Anti- Static Pad! I have then painted in the details with the mixes we made a little earlier.
▪️I have then trimmed this panel to 9cm x 8.5cm ▪️I have then cut an Antique Gold panel to go under this - 9.5cm x 9cm. Foam pad these together.
▪️On to our layers... Card Blank - 7.75"x 7.75" (From a pack of 8"x 8" cards & envelopes) Green Layer - Coconut White with an Evergreen Bough blended edge - 7.5" x 7.5" Red layer - Coconut White with a Festive Berries blended edge - 7.25" x 7.25"
▪️For the middle layers, I have taken a piece of Antique Gold Pearl Card and 6" x 6" and scored it at every 0.5cm all the way across to create a ribbed background ✅ TIP - Cut the card slighly larger than you need as when you score card this much the card foot print will shrink down slightly to allow for all the indentations If you allow a little extra on the top and the bottom too.. it can be nice to trim them down if you have created any start/stop marks from the scoring on the edges.
▪️Foam pad this gold scored panel onto the card.
▪️I have then taken a piece of Ivory Pearl Card and cut it using Sue Wilson's Noble Pierced Square Dies - (approx 5.5" x 5.5") and foam padded this on top.
▪️Now for the canvas.....
Each canvas has a side wall of approx 7mm, so I tend to build up the middle with a double strip of foam tape (6mm) to give them a little strength and protection (especially if the project is going to be posted). ▪️Add glue around the edges and place them on to the card. ▪️Add on the sentiment panel from earlier
▪️Finish off with a few gems, pearls or maybe even a splash of glitter/glitter glue!

Thank you so much for reading today's blog, I truly hope it gives you a couple of ideas.
If you are feeling inspired to get creative, then don't forget to share your projects with us in our Facebook Group - Create With Craftmania and Jamie Rodgers | Facebook
Jamie -x-
Craftmania Shopping List -
DIES & STAMPS
INKS & EMBOSSING POWDERS
CARD
GLUES & ADHESIVES
TOOLS
Also Available


What an absolutely delightful Christmas card Jamie I love it 😻